Diagnostics and Code Clearing

Vehicle diagnostics and code clearing

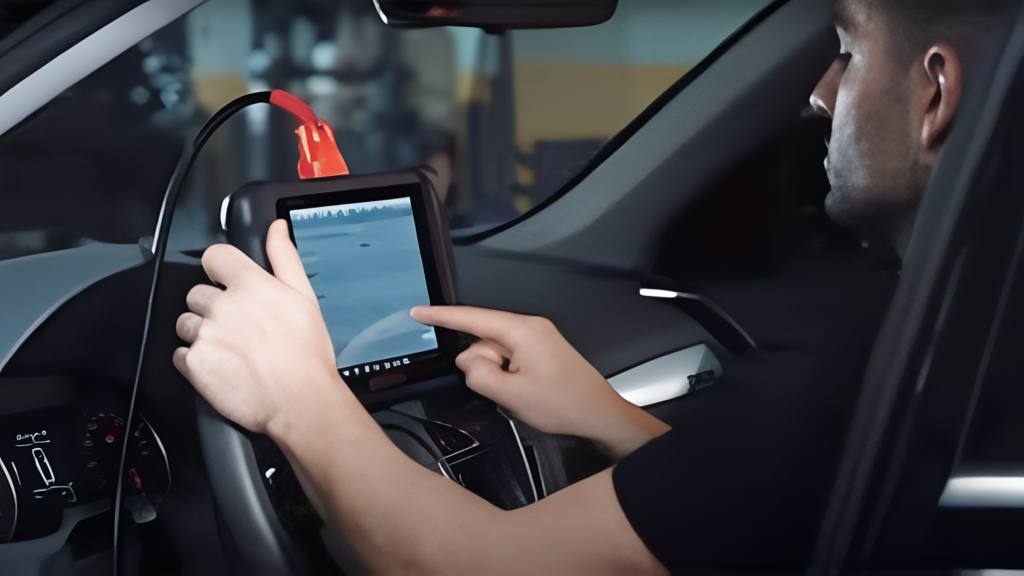
These involve the use of specialized tools and equipment to identify and troubleshoot issues within a vehicle’s electronic control systems. An overview of the process:

  1. On-Board Diagnostics (OBD) Port:
    • Most modern vehicles are equipped with an OBD port, usually located under the dashboard. This port allows a diagnostic tool to connect to the vehicle’s Engine Control Module (ECM) or onboard computer.

  2. Diagnostic Scan Tools:
    • Diagnostic scan tools, or code readers, can be connected to the OBD port to retrieve information from the vehicle’s computer. These tools can read Diagnostic Trouble Codes (DTCs) that are generated when a system or component malfunctions.

  3. DTC Interpretation:
    • Once the diagnostic tool retrieves DTCs, we use service manuals or online databases to interpret the codes. Each code corresponds to a specific issue or malfunction within the vehicle.

  4. Live Data Streaming:
    • Some advanced diagnostic tools allow technicians to view live data from various sensors in real-time. This helps diagnose intermittent issues and monitor the performance of different vehicle systems.

  5. Component Testing:
    • We may perform additional tests on specific components or systems to verify the accuracy of the diagnostic information. This can include checking sensors, actuators, and other relevant parts.

  6. Visual Inspection:
    • In addition to electronic diagnostics, a visual inspection of the vehicle’s components and systems may be conducted to identify physical issues, loose connections, or visible damage.


Code Clearing:

  1. Identifying and Resolving Issues:
    • Once the diagnostic process is complete, we work to identify and resolve the underlying issues causing the trouble codes. This may involve repairing or replacing faulty components, fixing wiring issues, or addressing sensor malfunctions.

  2. Clearing Codes:
    • After repairs are made, the diagnostic tool is used to clear or reset the DTCs stored in the vehicle’s computer. This step ensures that the vehicle’s warning lights are turned off and that the system recognizes that the issues have been addressed.

  3. Verification:
    • We perform a final check by re-scanning the vehicle to ensure that no new trouble codes are present, and the systems are functioning correctly.

  4. Test Drive:
    • A test drive is conducted to confirm that the repairs have resolved the issues and that the vehicle operates as expected.


It’s important to note that while basic OBD code readers are available for consumers, more advanced diagnostic tools are typically used by professional automotive technicians. If you encounter warning lights on your vehicle’s dashboard or experience performance issues, it’s advisable to seek assistance from a qualified mechanic who can diagnose and address the problem using appropriate tools and methods.